Outline in Blueprint
Before you start: finish Build the cast and the world.
You don't need the whole plot to start writing. Three turning points and a couple of scenes are plenty to aim at, and Blueprint keeps them where you can see them.
Mark the turning points
- Press ⌘ 4 for Blueprint. The Plots tab shows one board, Main Plot, which says Board Empty.
- Right-click an empty part of the board and, under Add to Plot, choose Plot Point. A card called Major Event appears.
- Click the card. In the details on the right, set Label to
The judge collapsesand Key Turning Point to Inciting Incident. - Add two more plot points the same way:
| Label | Key Turning Point |
|---|---|
The jars were swapped |
Midpoint Reversal |
Unmasking at the fete |
Climax |
Connect them
- Point at the edge of The judge collapses until a handle shows, and drag from it to The jars were swapped. An arrow appears.
- Click the Relation label in the middle of the arrow, type
leads to, and click Save. - Connect The jars were swapped to Unmasking at the fete the same way.
- From Story Elements on the left, drag Mabel Thorne (under Cast) onto the board next to the climax. It's her big moment.
- Click Tidy Up in the lower left.
You should now see four cards in a grid, with two labelled arrows running through the plot.
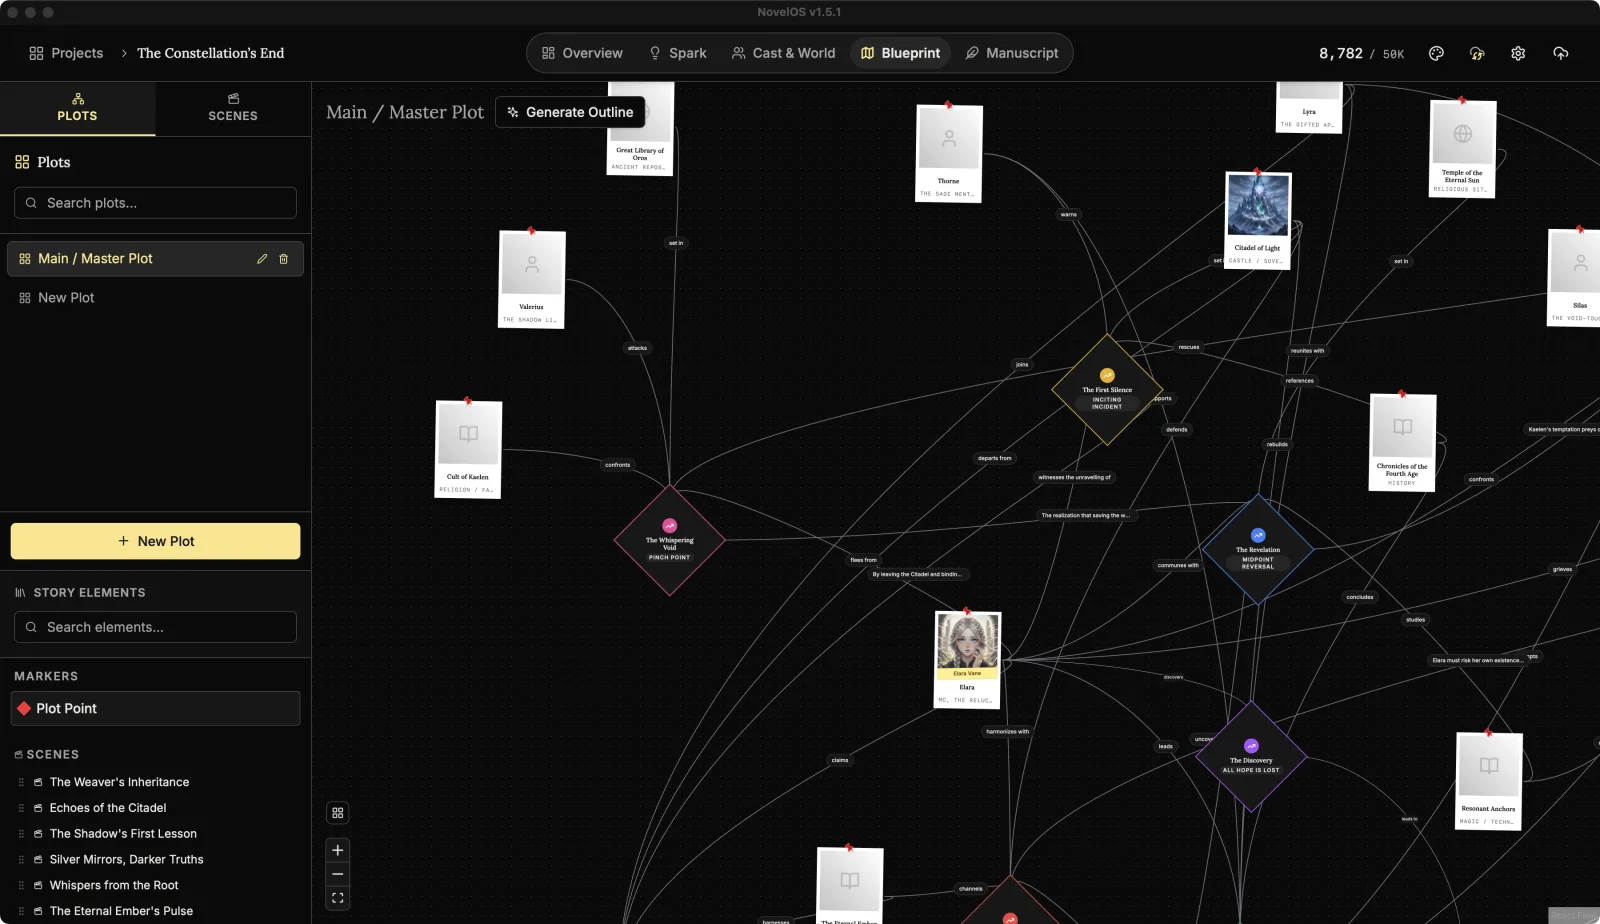
Optional, with a Muse key: Generate Outline, next to the board's name, builds a three-act outline from your synopsis (or logline), cast and world, and adds it to the board without touching what's there. See Blueprint.
Write the first scenes
Scenes are the pieces the chapters will be made of.
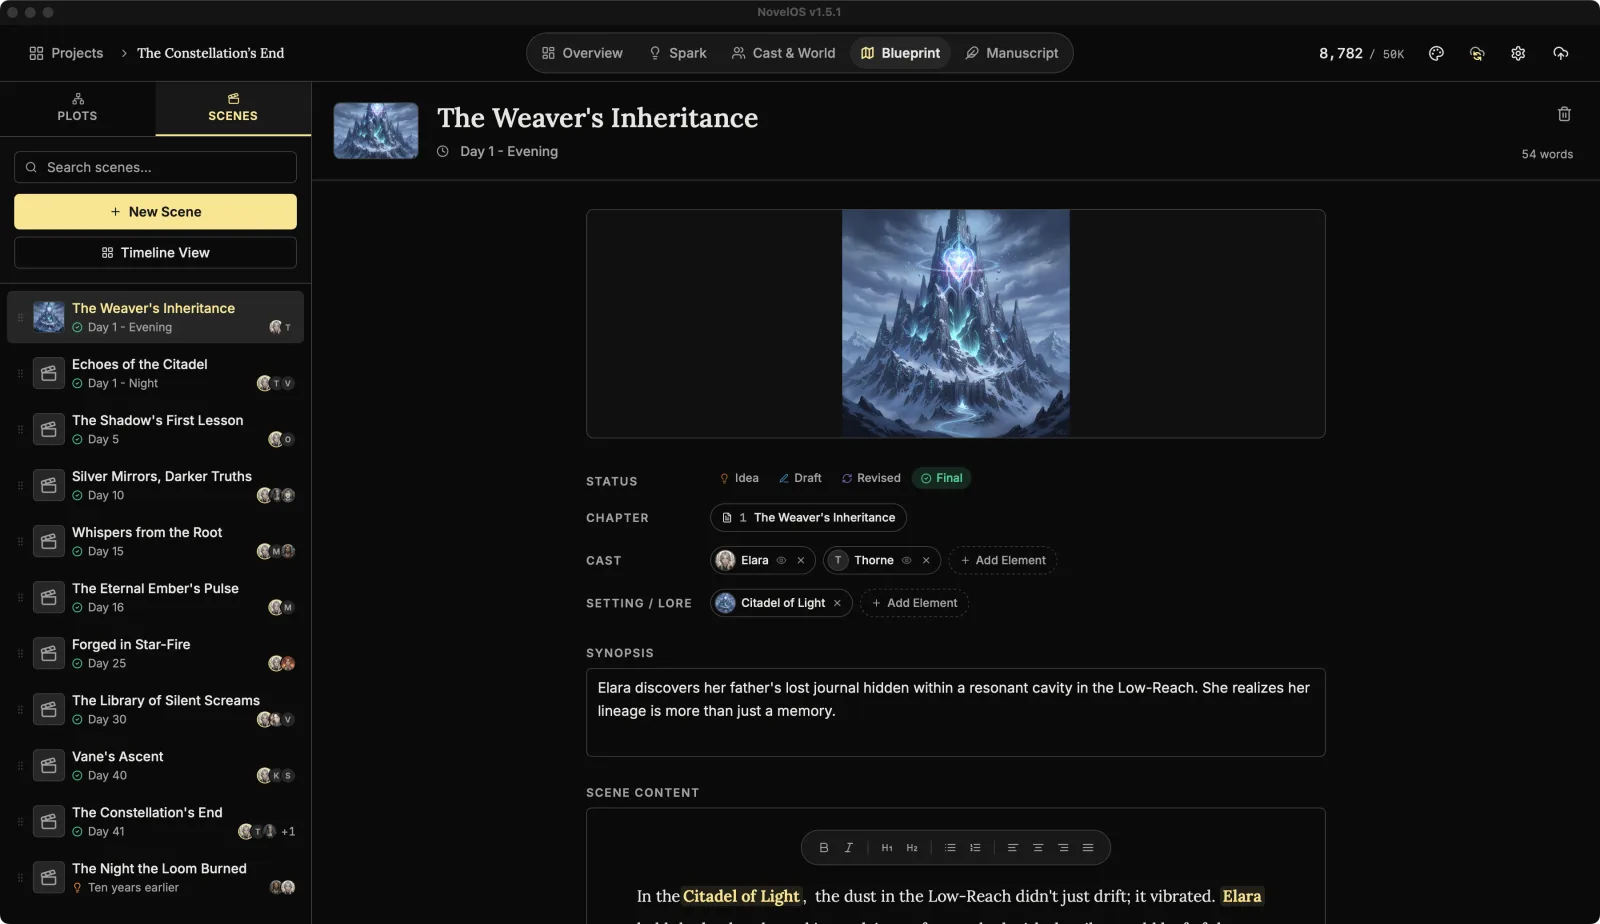
- Click the Scenes tab, then New Scene.
- Fill it in:
- Scene Title:
Judging Day - The story time:
Saturday morning - Status: Idea
- Synopsis:
Lionel tastes Iris's marmalade and collapses into the scones.
- Scene Title:
- Under Cast, click Add Element and pick Mabel, Iris and Lionel in Select Cast Members.
- Click the eye on Mabel's chip to make her the Viewpoint character.
- Under Setting / Lore, click Add Element and pick Little Wickham Village Hall and The Marmalade Rules.
- Add a second scene the same way:
Tea with the Constable,Saturday afternoon, with Mabel and Derek, where Derek decides Iris did it and goes fishing.
Leave Chapter alone for now. There are no chapters yet, so both scenes are Unplaced. You'll fix that in the next tutorial.
See the timeline
Click Timeline View, under New Scene.
You should now see both scenes as bars in the Unplaced row, under Outside the book.
Click Close Timeline to go back.
Now open Mabel in Cast & World (⌘ 3) and look at The Web. Both scenes are listed under Linked Scenes, because you tagged her in them.
Learn more
Next: Write the first chapter
Checked against NovelOS Studio 1.5.1 · Updated · View as Markdown