The editor, focus modes and the status bar
Pick a chapter in the Table of Contents and start typing. The editor saves as you go, so there's no Save button to forget.
The chapter's title sits at the top of the page. Hover just under it and click Add Subtitle for an optional subtitle, such as a date, a place or a quote, then type it into Enter subtitle.... It shows in Read mode, in exports and when Read Aloud reads the chapter.
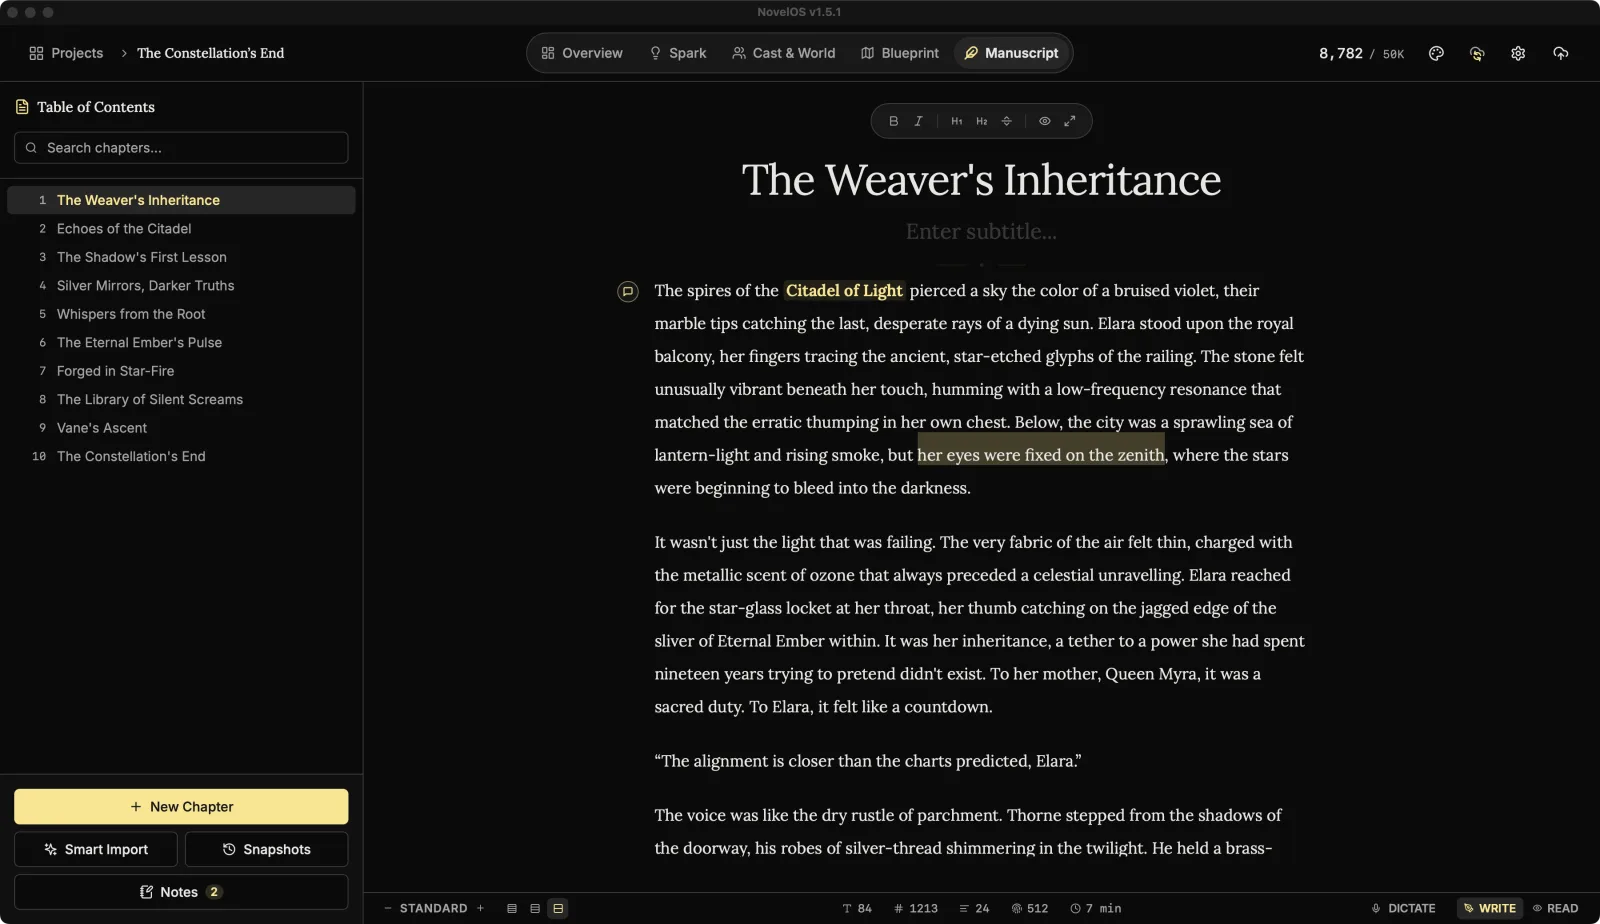
The toolbar
The toolbar sits above the page:
- Bold and Italic, also ⌘ B and ⌘ I.
- Heading 1 and Heading 2, for headings inside a chapter.
- Scene Break, which inserts a
***line. More in Scene breaks. - Enable Vanishing Mode and Enter Zen Mode, covered below.
Tab inserts a tab where the cursor is. How far it reaches is set by Tab Key Width in Settings. For the book-style indent at the start of every paragraph, use First-Line Indent instead, so you never have to press Tab at all.
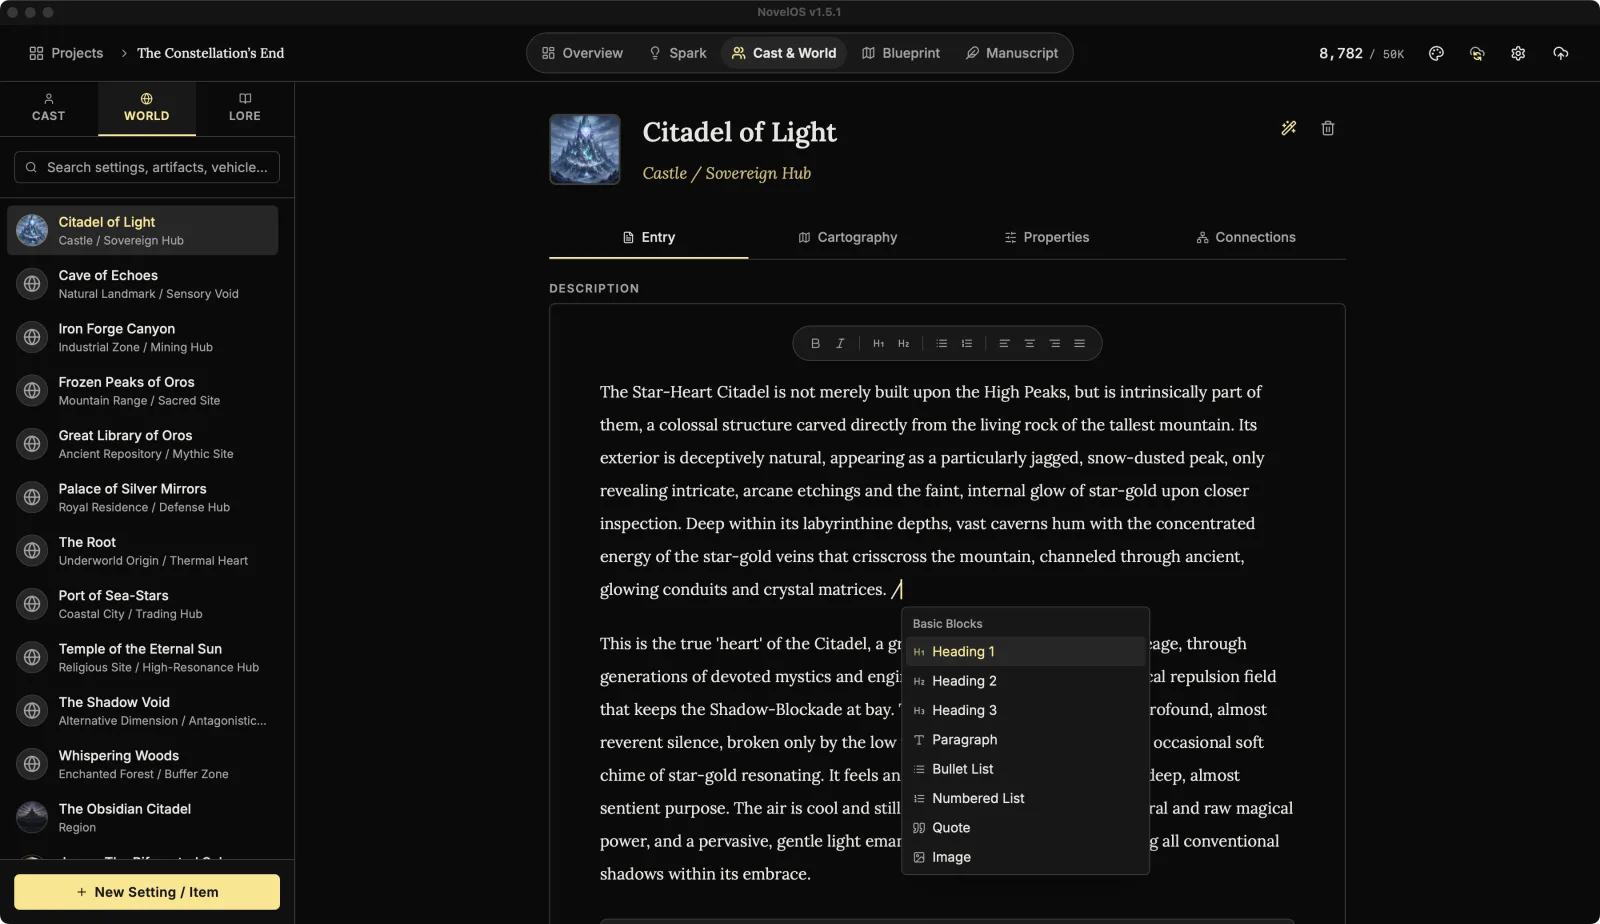
The / menu
Chapters are formatted with the toolbar and its shortcuts. The other editors in NovelOS have a / menu instead: a scene in Blueprint, a note on a Spark board, a character's Biography, and the description of a world or lore entry.
Type / at the start of a line, or after a space, and the menu opens. Keep typing to filter it, then press Enter.
| Group | What's in it |
|---|---|
| Basic Blocks | Paragraph, Heading 1, Heading 2, Heading 3, Bullet List, Numbered List, Quote, Image |
| Spark & Canvas | Spark Board, which puts one of your Spark boards into the text. Only in a Biography and in world and lore entries. |
Image asks for a picture from your computer. Spark Board shows a list of your boards with a Search boards... box.
The margin and the selection toolbar
Point at a paragraph and small buttons appear in the margin beside it. Select some words and the same buttons appear next to the selection, as a little selection toolbar.
- Add Comment (or Comment on Selection) leaves a note in the margin. See Comments, bookmarks and Margin Notes.
- Polish Prose (Show Don't Tell), or Polish Selection (Show Don't Tell) for selected words, opens The Alchemist. It only shows once you've connected a Muse key.
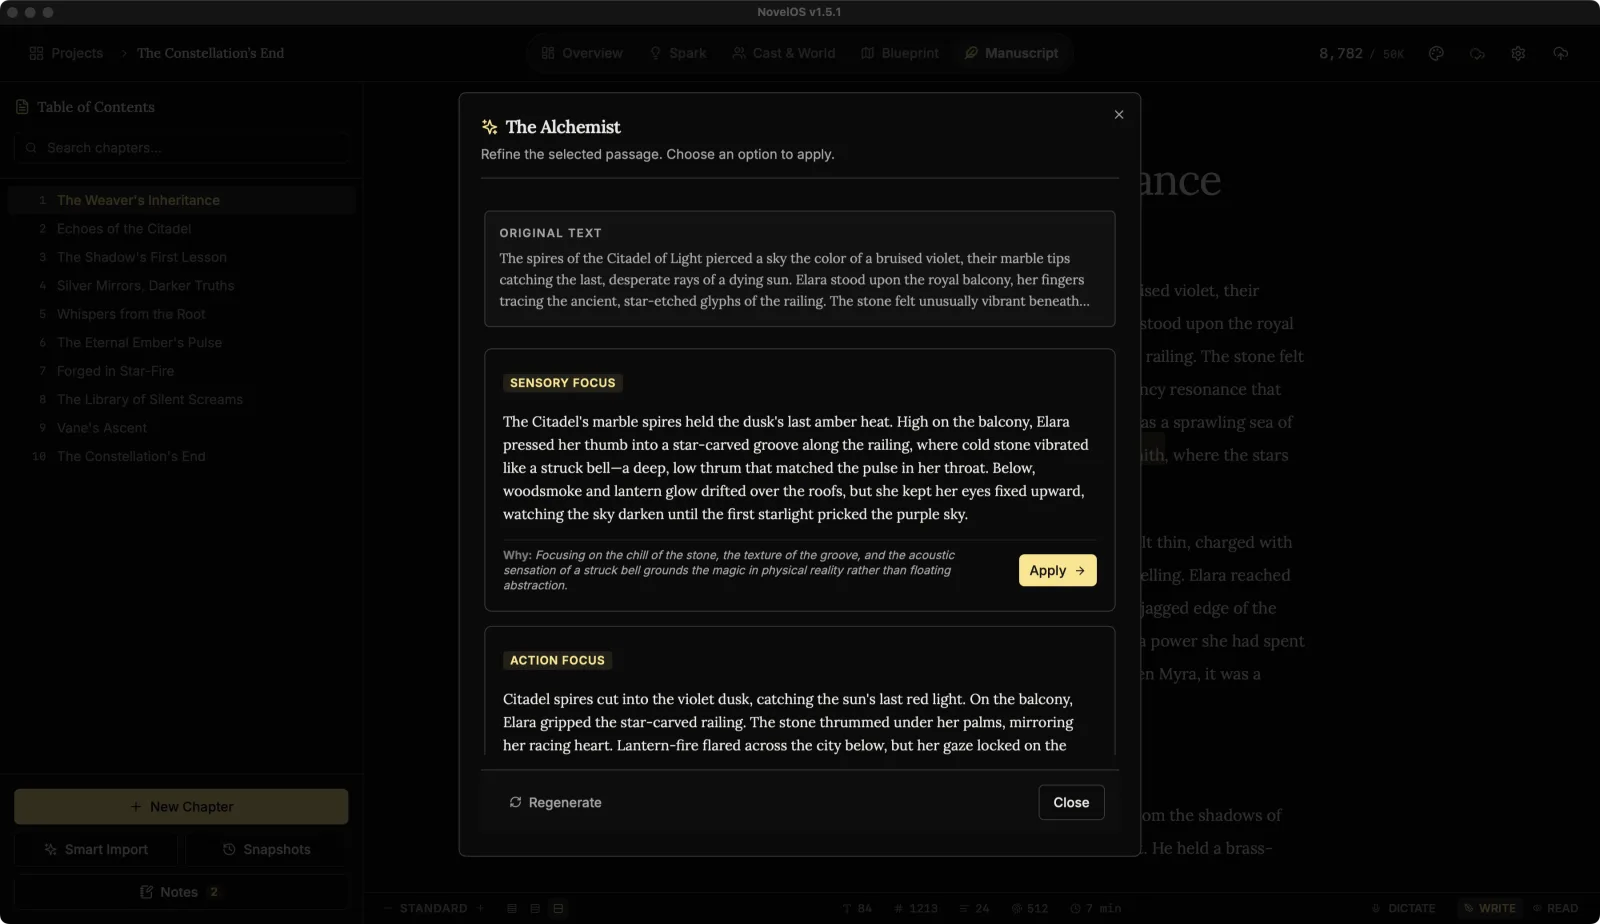
The Alchemist
The Alchemist rewrites a passage three ways, keeping to your book's genre, characters and places. Each version comes with a short Why: explaining what it changed.
- Apply swaps your text for that version.
- Copy to Clipboard copies it instead, if you only want to borrow a line.
- Regenerate asks for three new ones.
While it works it says Consulting the Muse.... If you edit the passage while the dialog is open, it refuses to apply (This passage changed after you selected it.) rather than overwrite your new words; select the passage again. You can change what The Alchemist is asked to do in Muse prompts.
Mentions
Type @ and a name to link a character, place or piece of lore into the text. Hover a mention to see its card, and click it to open the entry. Mentions has the details.
Focus modes
Zen Mode
Enter Zen Mode clears the screen around the page. The top bar, the Table of Contents and the status bar go away, and the toolbar fades until you point at it. Press ⇧ ⌘ F to switch it on or off, or Esc to leave.
Vanishing Mode
Enable Vanishing Mode is for first drafts and inner critics. Backspace and Delete stop working, and the lines above fade out as you write, so you can't go back and fiddle. You can only go forward. Click Disable Vanishing Mode when the draft is down and the editing can begin.
Typewriter Mode
Typewriter Mode keeps the line you're typing in the middle of the screen instead of at the bottom of the page. Turn it on in Settings › Editor & Typography › Writing Behavior, or with Toggle Typewriter mode in the command palette.
Write and Read
The switch at the right end of the status bar flips the chapter between Write and Read (its two buttons are labelled Writing Mode and Preview Mode for screen readers). Read mode hides the top bar and the Table of Contents so the chapter reads like a finished page, and it's where Read Aloud and Bionic Reading live. Press ⇧ ⌘ R to switch.
Bionic Reading makes the start of each word bold, which helps some readers skim faster. It only changes how the page looks to you, never the text itself.
The status bar
The strip along the bottom of the editor shows the chapter you're in:
| Item | What it tells you |
|---|---|
| Decrease Font Size / Increase Font Size | Steps the text size through Concise, Standard, Readable and Enlarged. |
| Line Flow (Spacing) | Three buttons for line spacing: Line Flow (Spacing): Dense, Line Flow (Spacing): Standard and Line Flow (Spacing): Airy. |
| Sentence Count, Word Count, Paragraph Count | For this chapter. |
| Vivid Words (Unique) | How many different words the chapter uses. A rough measure of variety. |
| Reading Time | At 200 words a minute. |
| Dictate (write by voice) | Write by speaking. See Dictation. |
Click Word Count in the top bar for the whole book's total and your goals. That opens Progress & Goals in Overview.
Fonts and spacing for the whole book
The status bar changes things quickly. For the full set, open Settings › Editor & Typography › Typographic Appearance:
- Font Style: Literary Serif (Classic), Modern Sans (Clean) or Draft Mono (Stable).
- Scale (Font Size): Concise, Standard, Readable, Enlarged.
- Line Flow (Spacing): Dense, Standard, Airy.
- Paragraph Breath: the gap between paragraphs. Compact, Modern Novel or Classic Manuscript.
- First-Line Indent: None, Short or Standard. It skips the paragraph after a heading or a
***scene break, the way printed books do. - Tab Key Width: Short (2 char), Standard (4 char) or Deep (8 char).
These only change how the editor looks on your screen. Exported books have their own layout, set in Book Layout and the export presets.
Related
Checked against NovelOS Studio 1.5.1 · Updated · View as Markdown