Chapters, parts and the Manuscript
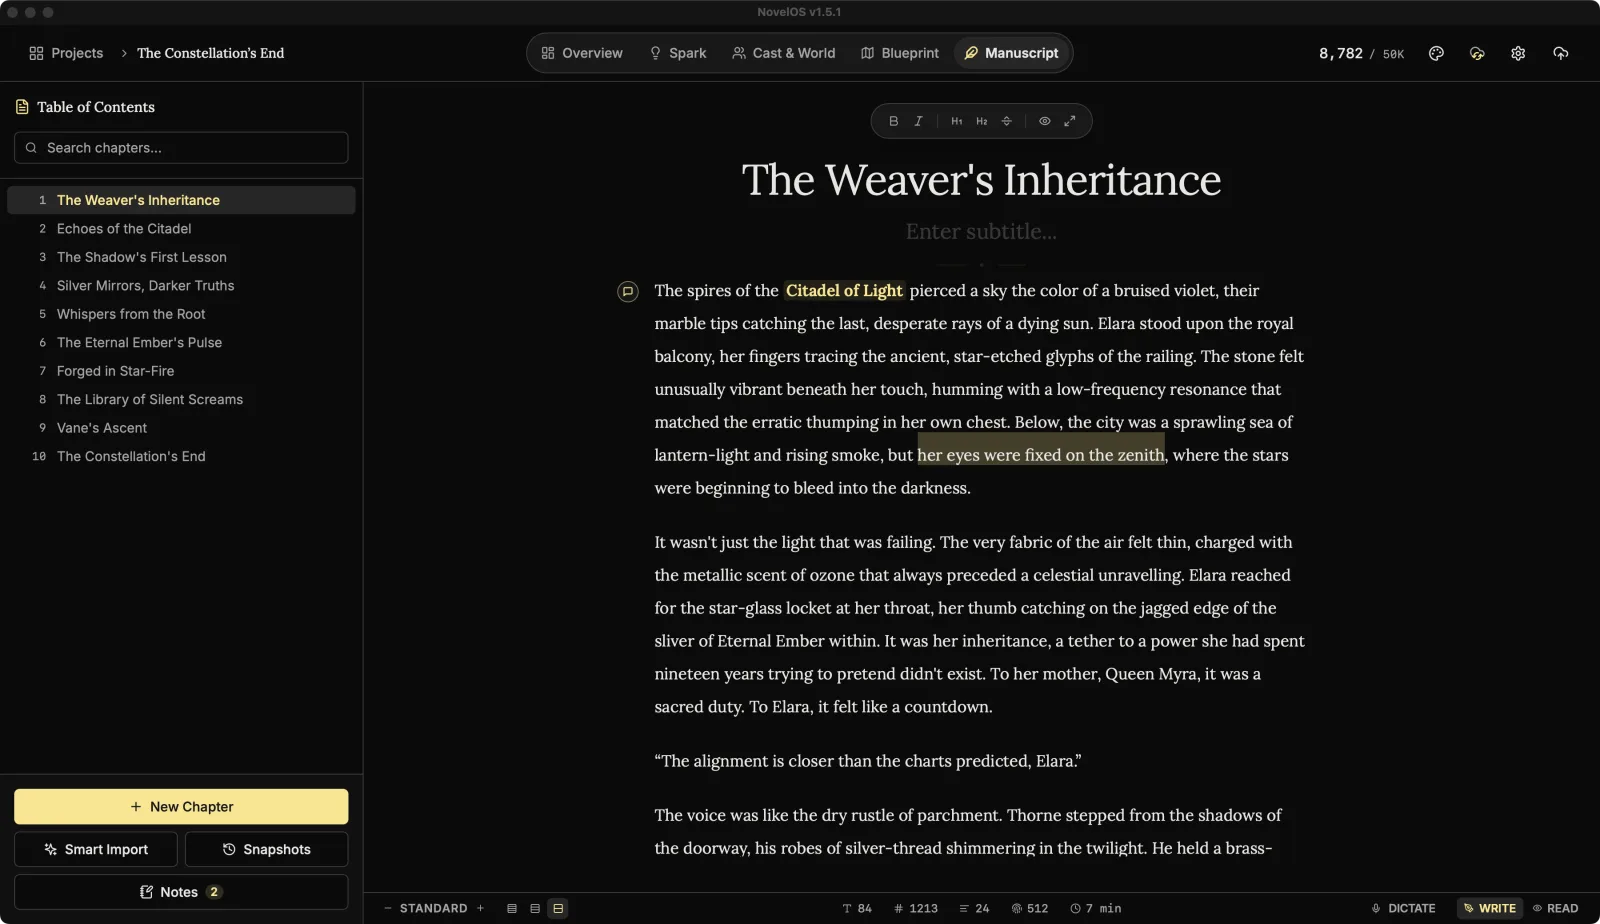
The Manuscript is where the book gets written. On the left is the Table of Contents, your chapter list. On the right is the editor for the chapter you picked. Open it from the top bar, or press ⌘ 5 (Ctrl 5 on Windows).
Add a chapter
Click New Chapter at the bottom of the Table of Contents. The new chapter goes at the end of the book, at the top level.
The keyboard is more precise. These work from anywhere in the book:
| Press | You get |
|---|---|
| ⌘ N | New chapter, next to the one you're writing, at the same level |
| ⇧ ⌘ N | New sub-chapter, inside the one you're writing |
| ⌥ ⌘ N | New part (top-level chapter), at the end of the book |
On Windows, use Ctrl for ⌘ and Alt for ⌥.
Parts and sub-chapters
Chapters nest up to three levels deep. Use that however your book is built:
- Part › Chapter › Section, for a long novel in parts.
- Chapter › Scene › Beat, if you like to draft in small pieces.
- Chapter, and nothing else. Also fine. Most books are.
To add a sub-chapter, hover a chapter and click Add Sub-chapter. A chapter that's already three levels down doesn't offer it. Collapse and Expand fold a chapter's sub-chapters away while you work on something else.
The hover actions
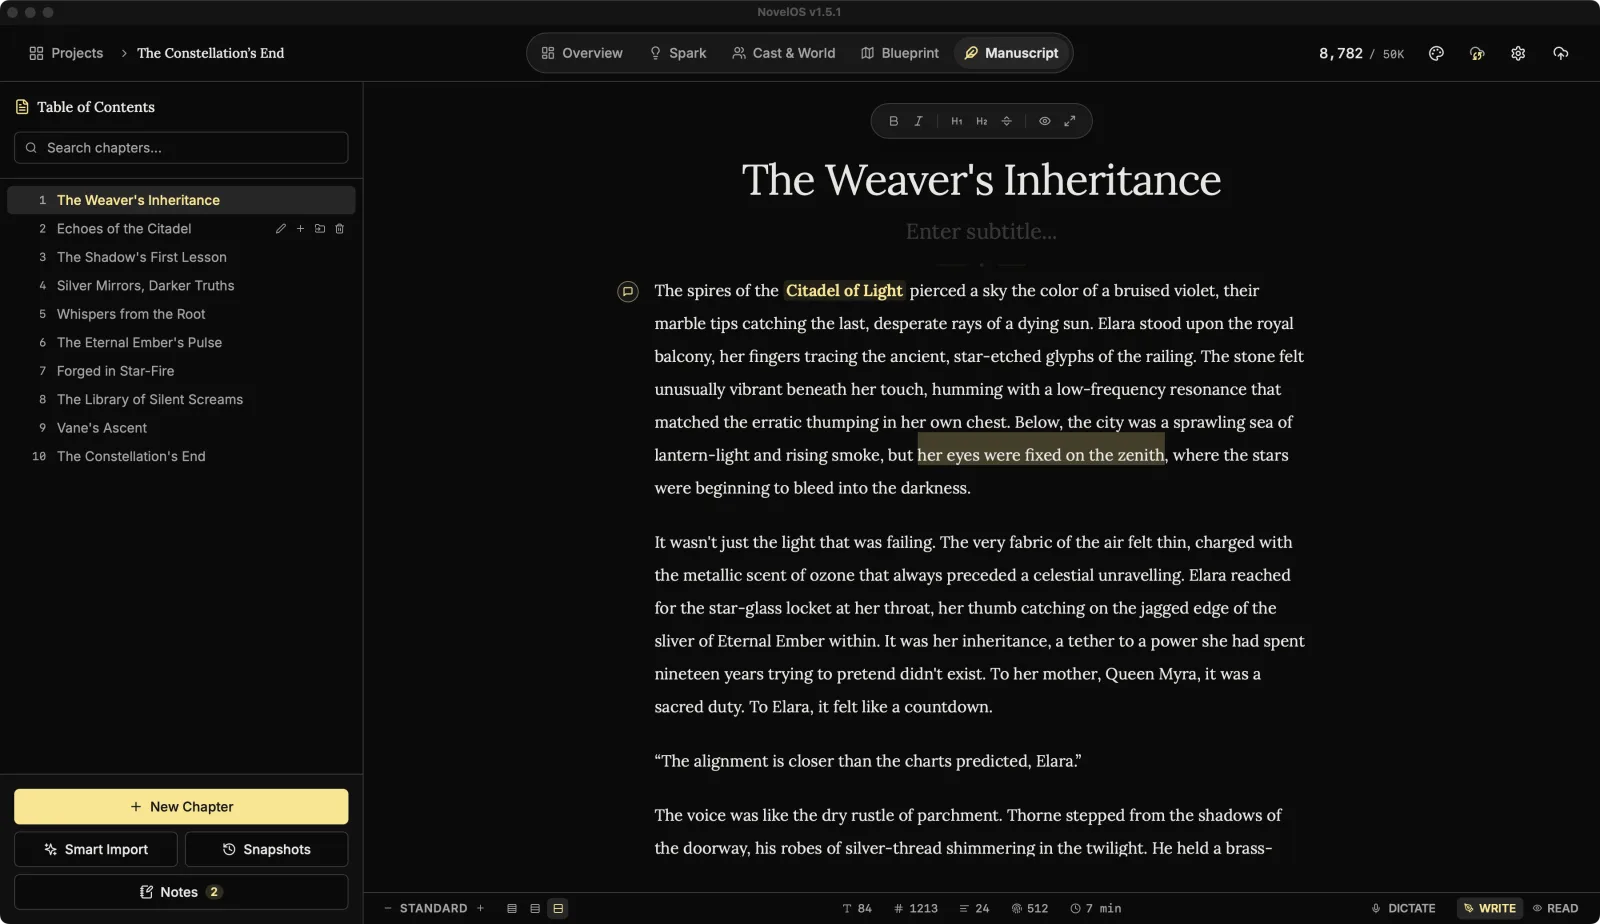
Hover any chapter in the Table of Contents and its actions appear on the right:
- Rename. Or double-click the chapter's name. Press Enter to keep the new name, Esc to back out.
- Add Sub-chapter.
- Move to…, covered below.
- Delete, which asks once more with Confirm Delete.
Delete takes the sub-chapters too. Deleting a part deletes every chapter inside it. If you only want the part gone, move its chapters out first.
Reorder by dragging
Drag to reorder or nest chapters: pull a chapter up or down the list to change its place. While you drag:
- Drag sideways to change its level: right to tuck it under the chapter above, left to bring it back out.
- Drop it onto another chapter to put it inside that one.
Its sub-chapters always travel with it.
Move chapters with Move to…
Dragging chapter 2 to the end of a 60-chapter book is a workout. Move to… is the lift.
- Hover the chapter and click Move to….
- Pick where it goes: inside another chapter, or Top level.
- Click Move. Or double-click the destination to move it in one go.
Some destinations are greyed out, with the reason next to them:
| Label | Why you can't move it there |
|---|---|
| Current place | It's already there. |
| Itself | A chapter can't go inside itself. |
| Inside it | That one is one of its own sub-chapters. |
| Too deep | It and its sub-chapters would end up more than three levels down. |
Work on several chapters at once
Hold ⌘ (Ctrl on Windows) and click chapters to pick them one by one, or hold ⇧ and click to pick a run of them. A bar shows how many you've chosen, for example 3 selected, with:
- Move to…, which moves all of them at once.
- Delete, which asks "Delete 3 chapters?" first.
- Clear selection, or press Esc.
If you pick a chapter and one of its sub-chapters, the sub-chapter simply comes along with its parent.
Find a chapter
Type in Search chapters... at the top of the Table of Contents. It looks at each chapter's title, subtitle and the words inside it, and the words don't have to be in order: "silent library" finds The Library of Silent Screams. The best match comes first.
Searches you run often can stay. Click Save this search, give it a name, and it sits above the list until you delete it.
Titles and subtitles
The chapter title sits at the top of the editor. Hover just under it and click Add Subtitle if the chapter needs one (an epigraph, a date, a place). Both show up in exports and in Book Preview.
Go to the next chapter
You don't need the mouse to move through the book:
| Press | Goes to |
|---|---|
| ⌥ ⌘ ↓ | Next chapter |
| ⌥ ⌘ ↑ | Previous chapter |
Scenes in the Table of Contents
When a chapter has scene breaks (a line of ***), the Table of Contents lists its scenes under the chapter you're writing, with a word count for each. Hover a scene for Move scene up and Move scene down, which move the whole scene, text and all. Clicking a scene jumps to it in the editor.
You can turn this list off in Settings › Editor & Typography › Scenes in Table of Contents. Scene breaks has the rest.
On your phone
The phone app has the same chapter list and Move to…. Instead of dragging, each chapter has Move earlier and Move later arrows. Picking several chapters at once is desktop only.
Related
- The editor and its toolbar
- Scene breaks
- Snapshots, for getting an old version of a chapter back
- Smart Import, for bringing in a draft from Word or Google Docs
Checked against NovelOS Studio 1.5.1 · Updated · View as Markdown